
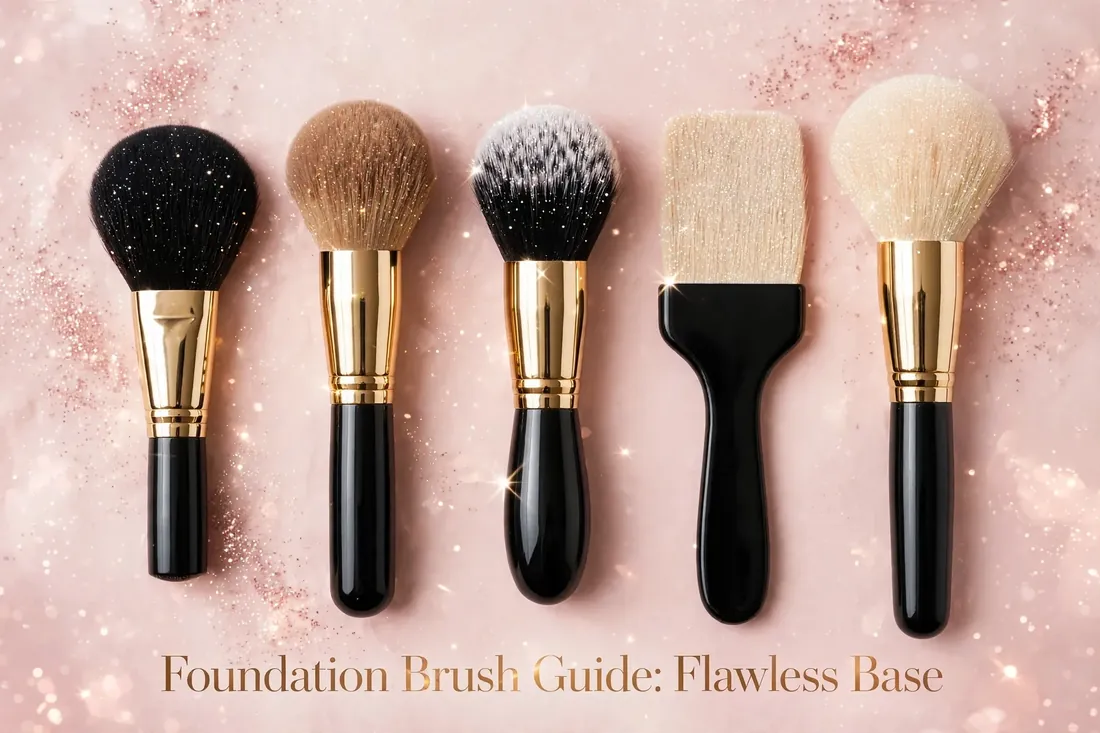
Have you ever applied foundation only to find streaks, uneven patches, or a heavy-looking finish? Your foundation may not be the problem. The real difference could come from the tool you use. A good foundation brush can help you spread makeup evenly, blend it smoothly, and create a polished base without using too much product.
However, choosing the right brush is not always easy. There are flat brushes, buffing brushes, stippling brushes, angled designs, and kabuki styles. Each one offers a different way to apply makeup.
The best choice depends on your foundation formula, preferred coverage, and desired finish. In this guide, you will discover the most popular brush types, how to use them, what to look for when buying one, and simple tips for creating a smooth makeup base.
What Is a Foundation Brush?
A foundation brush is a makeup tool designed to apply and blend complexion products. Most are made with soft synthetic bristles that work well with liquid and cream formulas.
Brushes come in different shapes and sizes. Some have flat edges for precise application, while others have dense, rounded bristles for quick blending.
Using a brush can also give you more control over product placement. Instead of applying a thick layer all over your face, you can start with a small amount and add more where needed.
Why Use a Makeup Brush for Foundation?
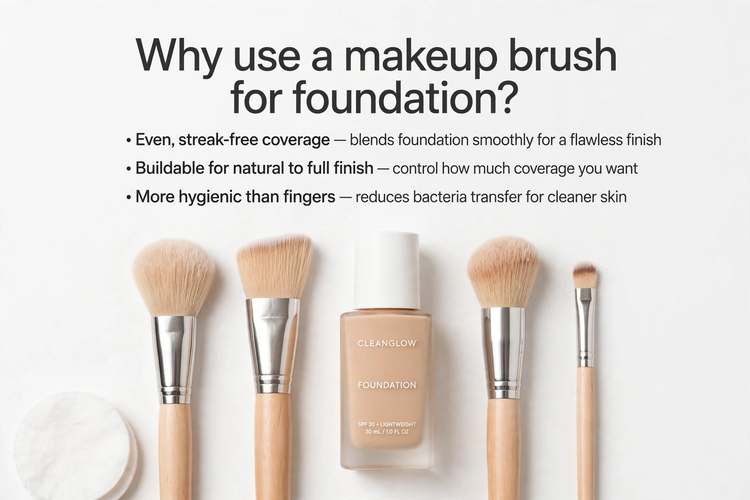
The right makeup tool can make your routine easier. It can also help you achieve a more even-looking finish.
Even Product Distribution
A quality brush helps spread foundation across the face. This makes it easier to avoid areas with too much or too little product.
Buildable Coverage
You can begin with a light layer and add more product where you want extra coverage. This approach can create a more natural-looking base.
Better Control
A brush allows you to control where the foundation goes. This is especially helpful around the nose, jawline, and other smaller areas.
Quick Application
Dense brushes can cover larger areas quickly. Therefore, they are useful when you want an efficient everyday makeup routine.
Smooth-Looking Finish
With the right technique, a suitable brush can help blend foundation for a polished and even appearance.
Best Types of Foundation Brushes
Different brush designs work better for different techniques. Understanding their features can help you choose the right option.
1. Flat Brush
A flat brush has a thin shape and usually features straight or slightly rounded edges. It is a classic option for liquid foundation.
The flat surface makes it easy to spread product across the skin. It can also help you reach smaller areas around the nose and eyes.
Best for: Liquid foundation and controlled application.
Tip: Use thin layers instead of placing a large amount of product on the brush.
2. Flat-Top Brush
A flat-top brush has densely packed bristles with a flat surface. It works well for buffing and blending makeup.
Because the bristles are dense, this style can help build medium or fuller coverage. It is also useful when you want a polished base.
Best for: Liquid and cream formulas.
Tip: Use small circular motions and avoid pressing too hard.
3. Buffing Brush
A buffing brush usually has dense, rounded bristles. It is designed to blend foundation quickly and evenly.
This style is popular for everyday makeup because it allows you to work across larger areas of the face.
Best for: Everyday makeup and blended finishes.
Tip: Start in the center of the face and gently work outward.
4. Stippling Brush
A stippling brush often has two layers of bristles. It is designed for a light tapping technique rather than heavy sweeping.
This style can be useful when you want to build coverage gradually. It may also help create a lighter-looking application.
Best for: Light-to-medium coverage.
Tip: Gently tap the product onto the skin instead of dragging the brush.
5. Angled Brush
An angled brush has a slanted edge that can make detailed application easier.
The shape is useful around the nose and jawline. It can also provide more control when blending along the contours of the face.
Best for: Precise application and smaller areas.
Tip: Use the angled edge to blend carefully around difficult areas.
6. Kabuki Brush
Kabuki brushes are generally dense and compact. They are available in several shapes, including rounded, flat-top, and angled designs.
A dense kabuki brush can blend foundation efficiently. It can also work well when you want to build coverage.
Best for: Medium-to-full coverage.
Tip: Use gentle buffing motions instead of applying strong pressure.
How to Choose the Right Brush
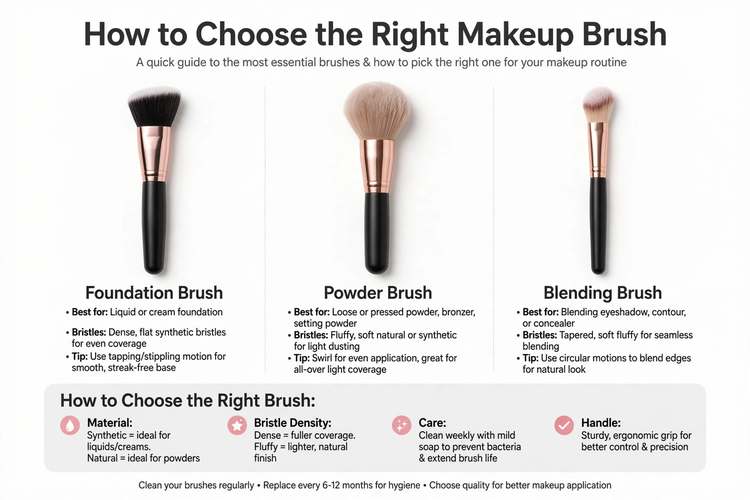
Finding the right option becomes easier when you consider your makeup formula and preferred finish.
Match the Brush to Your Formula
Liquid foundation works well with many brush styles, including flat, buffing, stippling, and flat-top designs.
Cream formulas often work well with dense bristles because they can help blend thicker textures.
For powder foundation, choose a brush designed specifically for powder products. A softer, fuller brush may provide better control.
Consider Your Coverage
Your preferred coverage should also influence your choice.
For lighter coverage, a stippling style can help you apply a thin layer. For medium or fuller coverage, a dense flat-top or buffing design may be more suitable.
You can also build coverage with almost any suitable brush by applying small amounts gradually.
Think About the Finish
If you want a well-blended appearance, a dense buffing brush can be a useful choice.
For more precise application, a flat or angled design may be better. If you prefer a lighter application, look for a brush that gives you plenty of control over the amount of product.
Check the Bristles
Soft bristles should feel comfortable on your skin. Avoid brushes that feel rough or scratchy.
Synthetic bristles are a popular choice for liquid and cream makeup. They are also relatively easy to clean and maintain.
How to Apply Foundation With a Brush
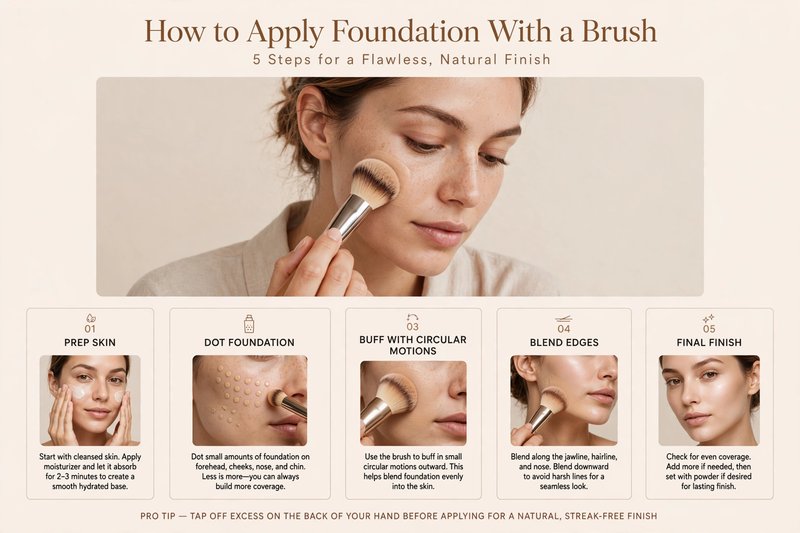
The right technique can make a major difference. Fortunately, you do not need complicated steps.
Step 1: Prepare Your Skin
Start with clean skin. Apply your usual skincare products and allow them to settle.
If you use primer, apply it evenly before moving on to foundation.
Step 2: Use a Small Amount
Place a small amount of foundation on the back of your hand or another clean surface.
Starting with less product gives you better control. You can always add another layer later.
Step 3: Start in the Center
Begin around the center of your face. Apply small amounts to areas such as the cheeks, nose, and forehead.
These areas often benefit from more coverage than the outer edges.
Step 4: Blend Outward
Gently blend the product toward your hairline and jawline.
Use short strokes or circular buffing motions, depending on the brush style. Take your time around the edges to avoid visible lines.
Step 5: Build Coverage
If you need more coverage, add another thin layer.
Instead of applying a large amount at once, build the product gradually. This can help prevent a heavy appearance.
Step 6: Check Your Base
Finally, look at your makeup in good lighting. Check around your nose, jawline, and hairline for areas that may need additional blending.
Foundation Brush vs. Makeup Sponge
Both brushes and makeup sponges can be useful for applying foundation. However, they offer different application experiences.
A brush generally gives you more control over product placement. It can also make it easier to build coverage and work quickly across the face.
A damp makeup sponge uses a pressing or bouncing motion. It can help create a soft, blended appearance.
Your choice depends on personal preference. Some people even use both tools. For example, you can apply foundation with a brush and then lightly press a damp sponge over the base.
Common Application Mistakes
Even the best tool may not perform well if the application technique is not right. Avoid these common mistakes.
Applying Too Much Product
Using more foundation does not always provide a better result. Start with a small amount and build coverage gradually.
Pressing Too Hard
Heavy pressure can move the product around instead of blending it. Use gentle movements for better control.
Forgetting the Edges
Always blend around the hairline and jawline. Unblended edges can make the makeup look less natural.
Using a Dirty Brush
Makeup residue can collect between the bristles. Regular cleaning helps keep your tools fresh and ready for use.
Choosing the Wrong Brush
A brush that works well with liquid foundation may not be ideal for every product. Always consider the formula before choosing your tool.
How to Clean Your Brush
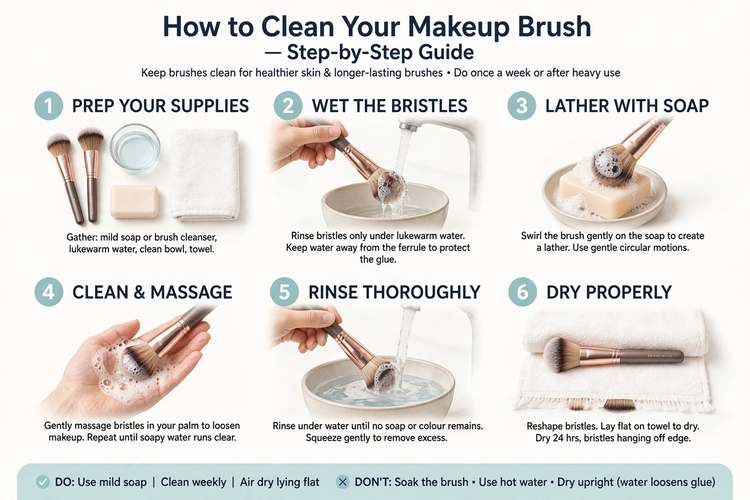
Regular cleaning is an important part of makeup brush care.
First, wet the bristles with lukewarm water. Try not to soak the handle because excess moisture can damage some brush construction.
Next, apply a gentle brush cleanser. Work it through the bristles using your fingers. Then rinse until the water runs clear.
Gently remove excess water and reshape the bristles. Finally, place the brush in a clean, ventilated area and let it dry completely.
Avoid putting a wet brush into a closed container. It needs proper airflow while drying.
How Often Should You Clean It?
How often you clean your brush depends on how frequently you use it.
If you use foundation regularly, cleaning the brush at least once a week can be a useful routine. Daily makeup users may prefer more frequent cleaning.
Regular care also helps the brush maintain its shape and performance.
Can You Use One Brush for Other Products?
Some complexion brushes can be used for more than one product.
For example, a smaller brush may help blend concealer, while a dense design may work with certain cream complexion products.
However, using separate brushes can make your routine easier to manage. If you use one brush for multiple products, clean it thoroughly between applications.
Best Option for Beginners
If you are new to makeup brushes, start with a versatile design.
A medium-sized dense buffing or flat-top brush can be a practical choice for many liquid and cream formulas. It can help you apply and blend foundation without needing a large collection of tools.
Most importantly, practice your technique. Learning how much product to use and how much pressure to apply can be just as important as the brush itself.
Final Thoughts
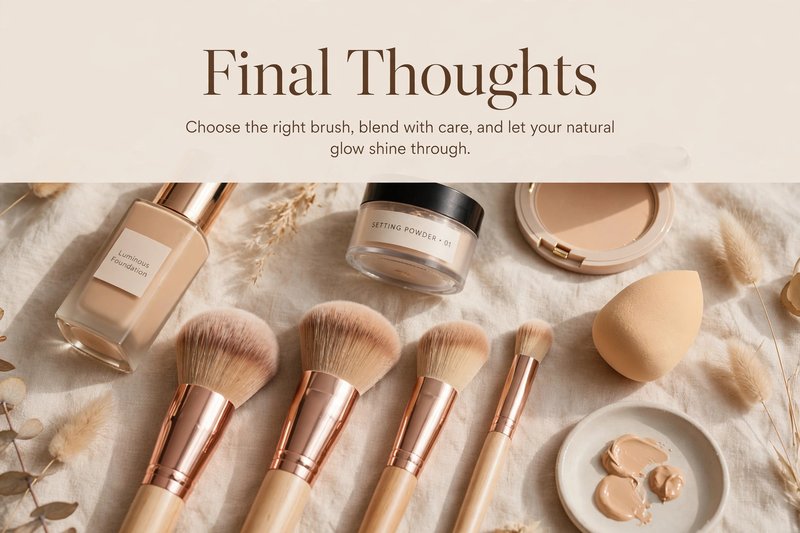
Choosing the right foundation brush can make your makeup routine simpler and more controlled. Flat brushes are useful for precise application, while buffing brushes are great for blending. Stippling brushes can help create buildable coverage, and dense kabuki styles are useful for fuller application.
However, the best choice depends on your foundation formula, preferred coverage, and desired finish.
Start with a small amount of product and blend gradually. Keep your brush clean, use gentle movements, and pay attention to the edges of your face.
Once you understand these basics, finding and using the right brush becomes much easier. With the right tool and technique, you can create a smooth, even-looking base that complements the rest of your makeup.
Frequently Asked Questions
What type of brush is best for foundation?
A dense buffing or flat-top brush is a versatile choice for many liquid and cream foundations. The best option depends on your preferred coverage and finish.
Is it better to apply foundation with a brush?
A brush can provide good control and help you build coverage gradually. However, the best application tool depends on your personal preference and the finish you want.
Can I use a foundation brush every day?
Yes. You can use one as part of your everyday makeup routine. Clean it regularly to remove makeup buildup and keep the bristles in good condition.
Should a foundation brush be wet or dry?
Most foundation brushes are designed to be used dry. Unlike a makeup sponge, you generally do not need to dampen the brush before application.
How can I prevent streaks?
Use a small amount of foundation and blend with gentle strokes or buffing motions. A clean brush can also help provide a more even application.
How often should I replace my brush?
There is no specific replacement schedule. Consider replacing it when the bristles become damaged, lose their shape, shed excessively, or become difficult to clean.